Getting Started
For getting started with the template you have to follow the below procedure. For quick guide you can check below videos for installation.
Installation Video
Please follow this video with the documentation, and it'll make the installation process on windows relatively easy.
Prerequisites
PHP 8.1
Composer
Xamp/Wamp/Lamp for any such application for apache, nginx, mysql
PHP plugins you must need
- simplexml
- PHP's dom extension
- mbstring
- GD Library
Frontend
- node(20.0.0 or later,
v20.9.0much more appreciable) - yarn
- editor: Visual Studio Code(recommended)
Getting Started
- First download the file from codecanyon.
- Unzip the downloaded file and folder structure you get
chawkbazar|-- chawkbazar-api|-- admin|-- shop
From the above folder structure you should notice that our app has three parts
chawkbazar-api,shopandadmin. So you have to run all the parts separately and sequentially.Getting started with api
Make sure you have run xamp/mamp/wamp/lamp for mysql and php
Create a database in your mysql and put those info in next step
Rename .env.example file to .env and provide necessary credentials. Like database credentials stripe credentials, s3 credentials(only if you use s3 disk) admin email shop url etc. Specially check for this
envvariablesDB_HOST=localhostDB_DATABASE=chawkbazar_laravelDB_USERNAME=rootDB_PASSWORD=Run
composer install
run
php artisan key:generate
Run
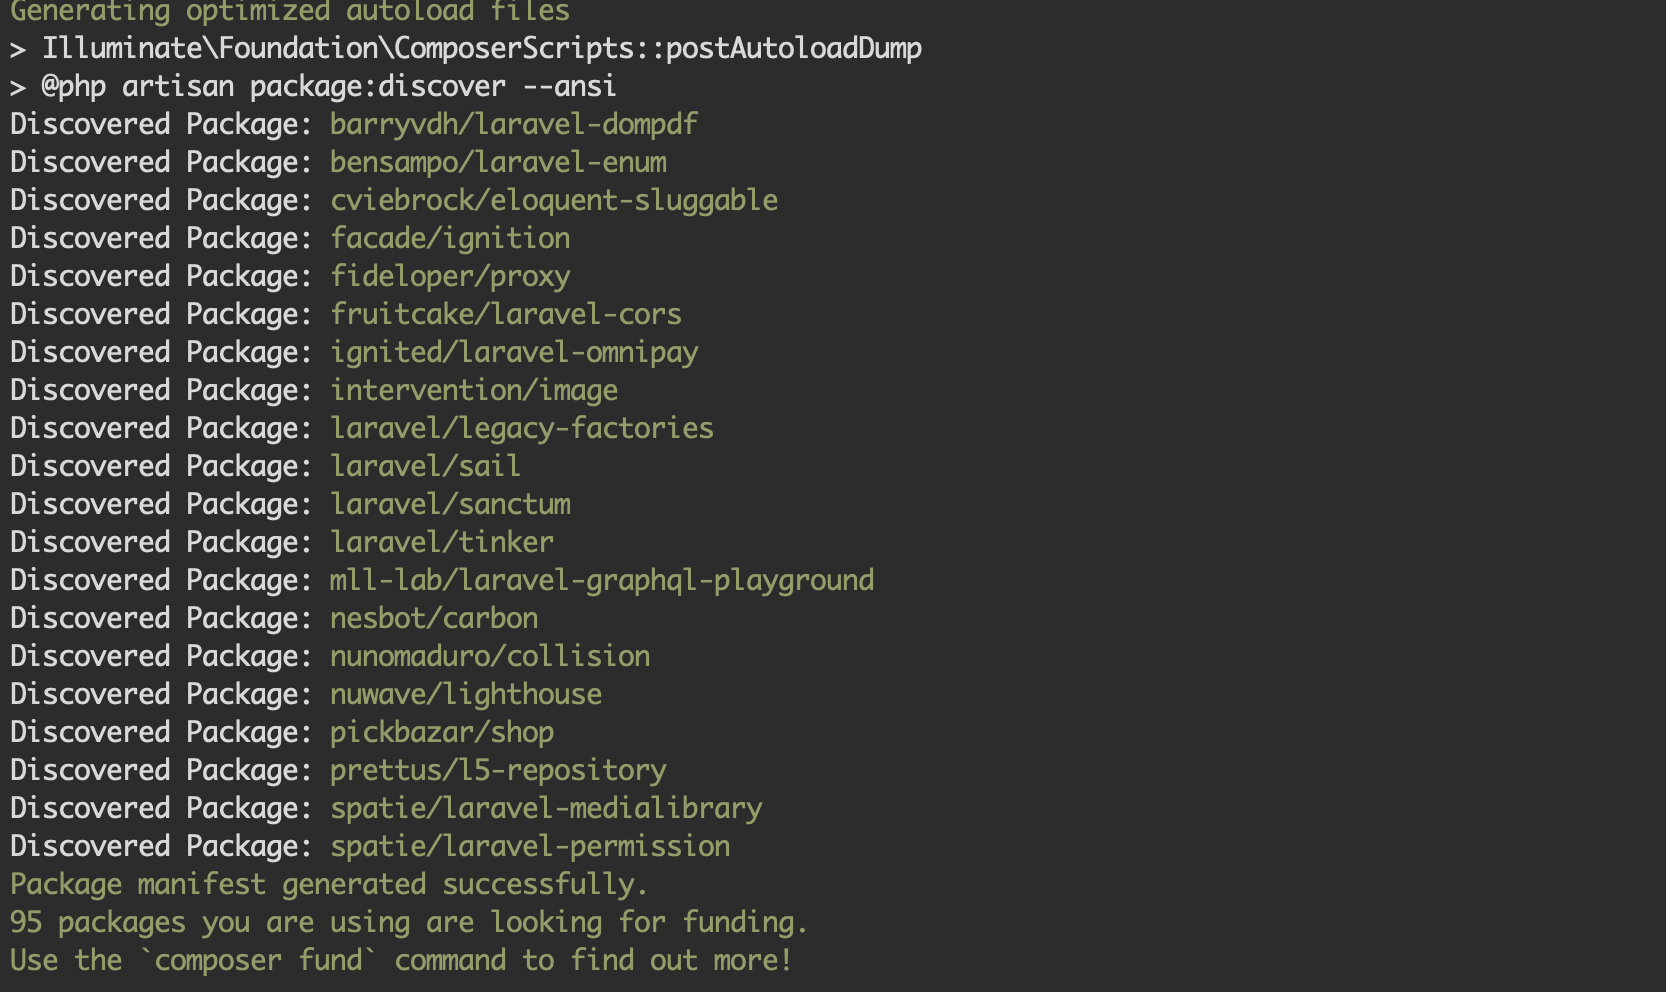
php artisan marvel:installand follow necessary steps.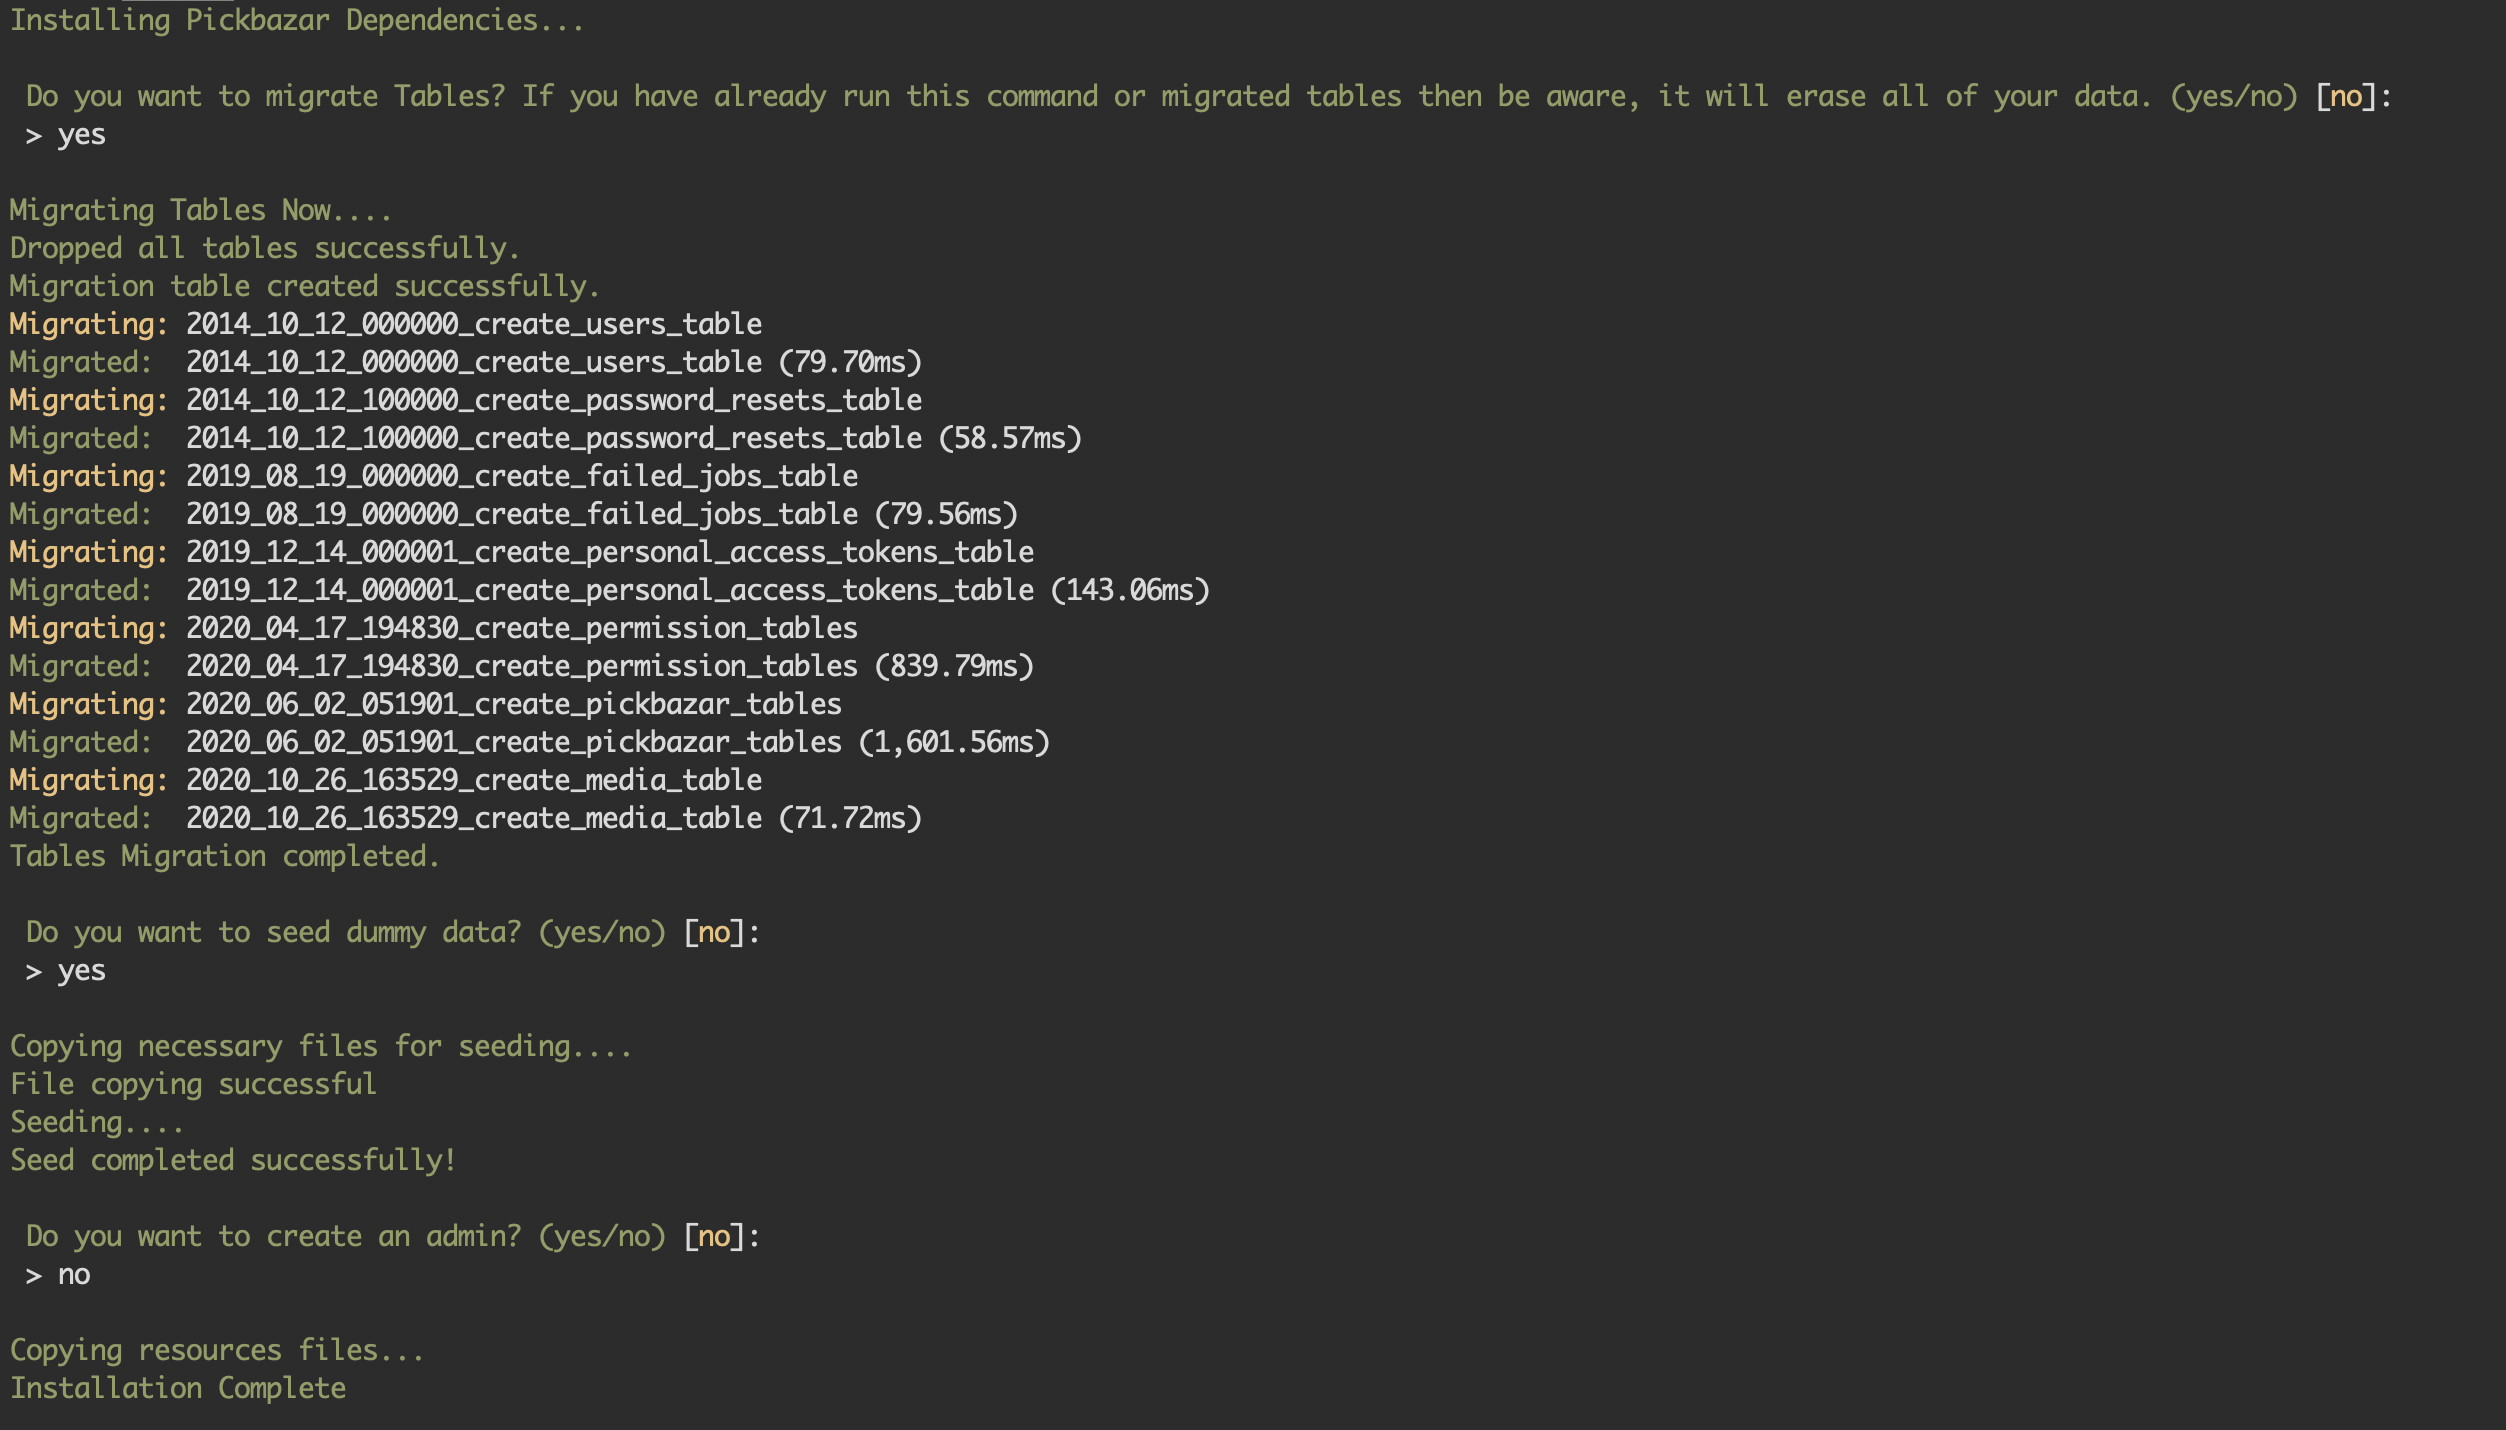
For image upload to work properly you need to run
php artisan storage:link.

run
php artisan serve
NB: your frontend
NEXT_PUBLIC_REST_API_ENDPOINTenv value will belocalhost:8000/
For MAC and Linux(with sail and docker)
There is an alternate installation procedure for linux and mac. You can follow below procedure to getting started with sail
Prerequisites
- Docker
NB: Move chawkbazar-laravel folder from ChawkBazar Laravel - React, Next, REST API Ecommerce With Multivendor folder
Installation
Video
- Run Docker application first
- Now go to your chawkbazar-laravel root directory and run
bash install.sh. It will guide you through some process. Follow those steps carefully and your app will be up and running - Navigate to
apithensail downto stop the container. If you want to remove the volumes thensail down -v
NB: your frontend
NEXT_PUBLIC_REST_API_ENDPOINTenv value will belocalhost/
For details api doc and requirements details you can go to Laravel API
Getting Started with Frontend
- After configuring API & running it successfully you can choose the directory where you need to work
Below are the directories where you will choose to work for frontend stuffs
cd admin/restcd shop
After choosing your working directory
Go to specific folder and rename the .env.template => .env and put your api endpoint here. You will find .env.template file at the root of your admin/{chosen-directory-name} or shop
- Run yarn at the root directory.
# on chawkbazar/root directoryyarn
For Admin :
For starting the admin dashboard part with corresponding api data run below commands.
- using workspace (At the root of the chawkbazar directory, you can run the below commands)
yarn dev:admin-rest

- without workspace(if you want to run the command within specific project root of
admin/{chosen-directory-name})
# for dev mode run below command# RESTyarn dev
This command will run the app in development mode. Open the suggested url in your terminal. like => http://localhost:3000 .
Note:
- The page will automatically reload if you make changes to the code. You will see the build errors and lint warnings in the console.
- If you saw any error while running make Sure you setup your API endpoint properly at
.envfile.
For Shop :
Shop config
For starting the shop part with corresponding api data run below commands.
- using workspace (At the root of the chawkbazar directory, you can run the below commands)
yarn dev:shop-rest

- without workspace(if you want to run the command within specific project root of
shop)
yarn dev
If you want to test your production build admin or shop in local environment then run the below commands.
Admin (At the root of the chawkbazar directory, you can run the below commands)
# build admin for productionyarn build:admin-rest#start admin in production modeyarn start:admin-rest
Shop (At the root of the chawkbazar directory, you can run the below commands)
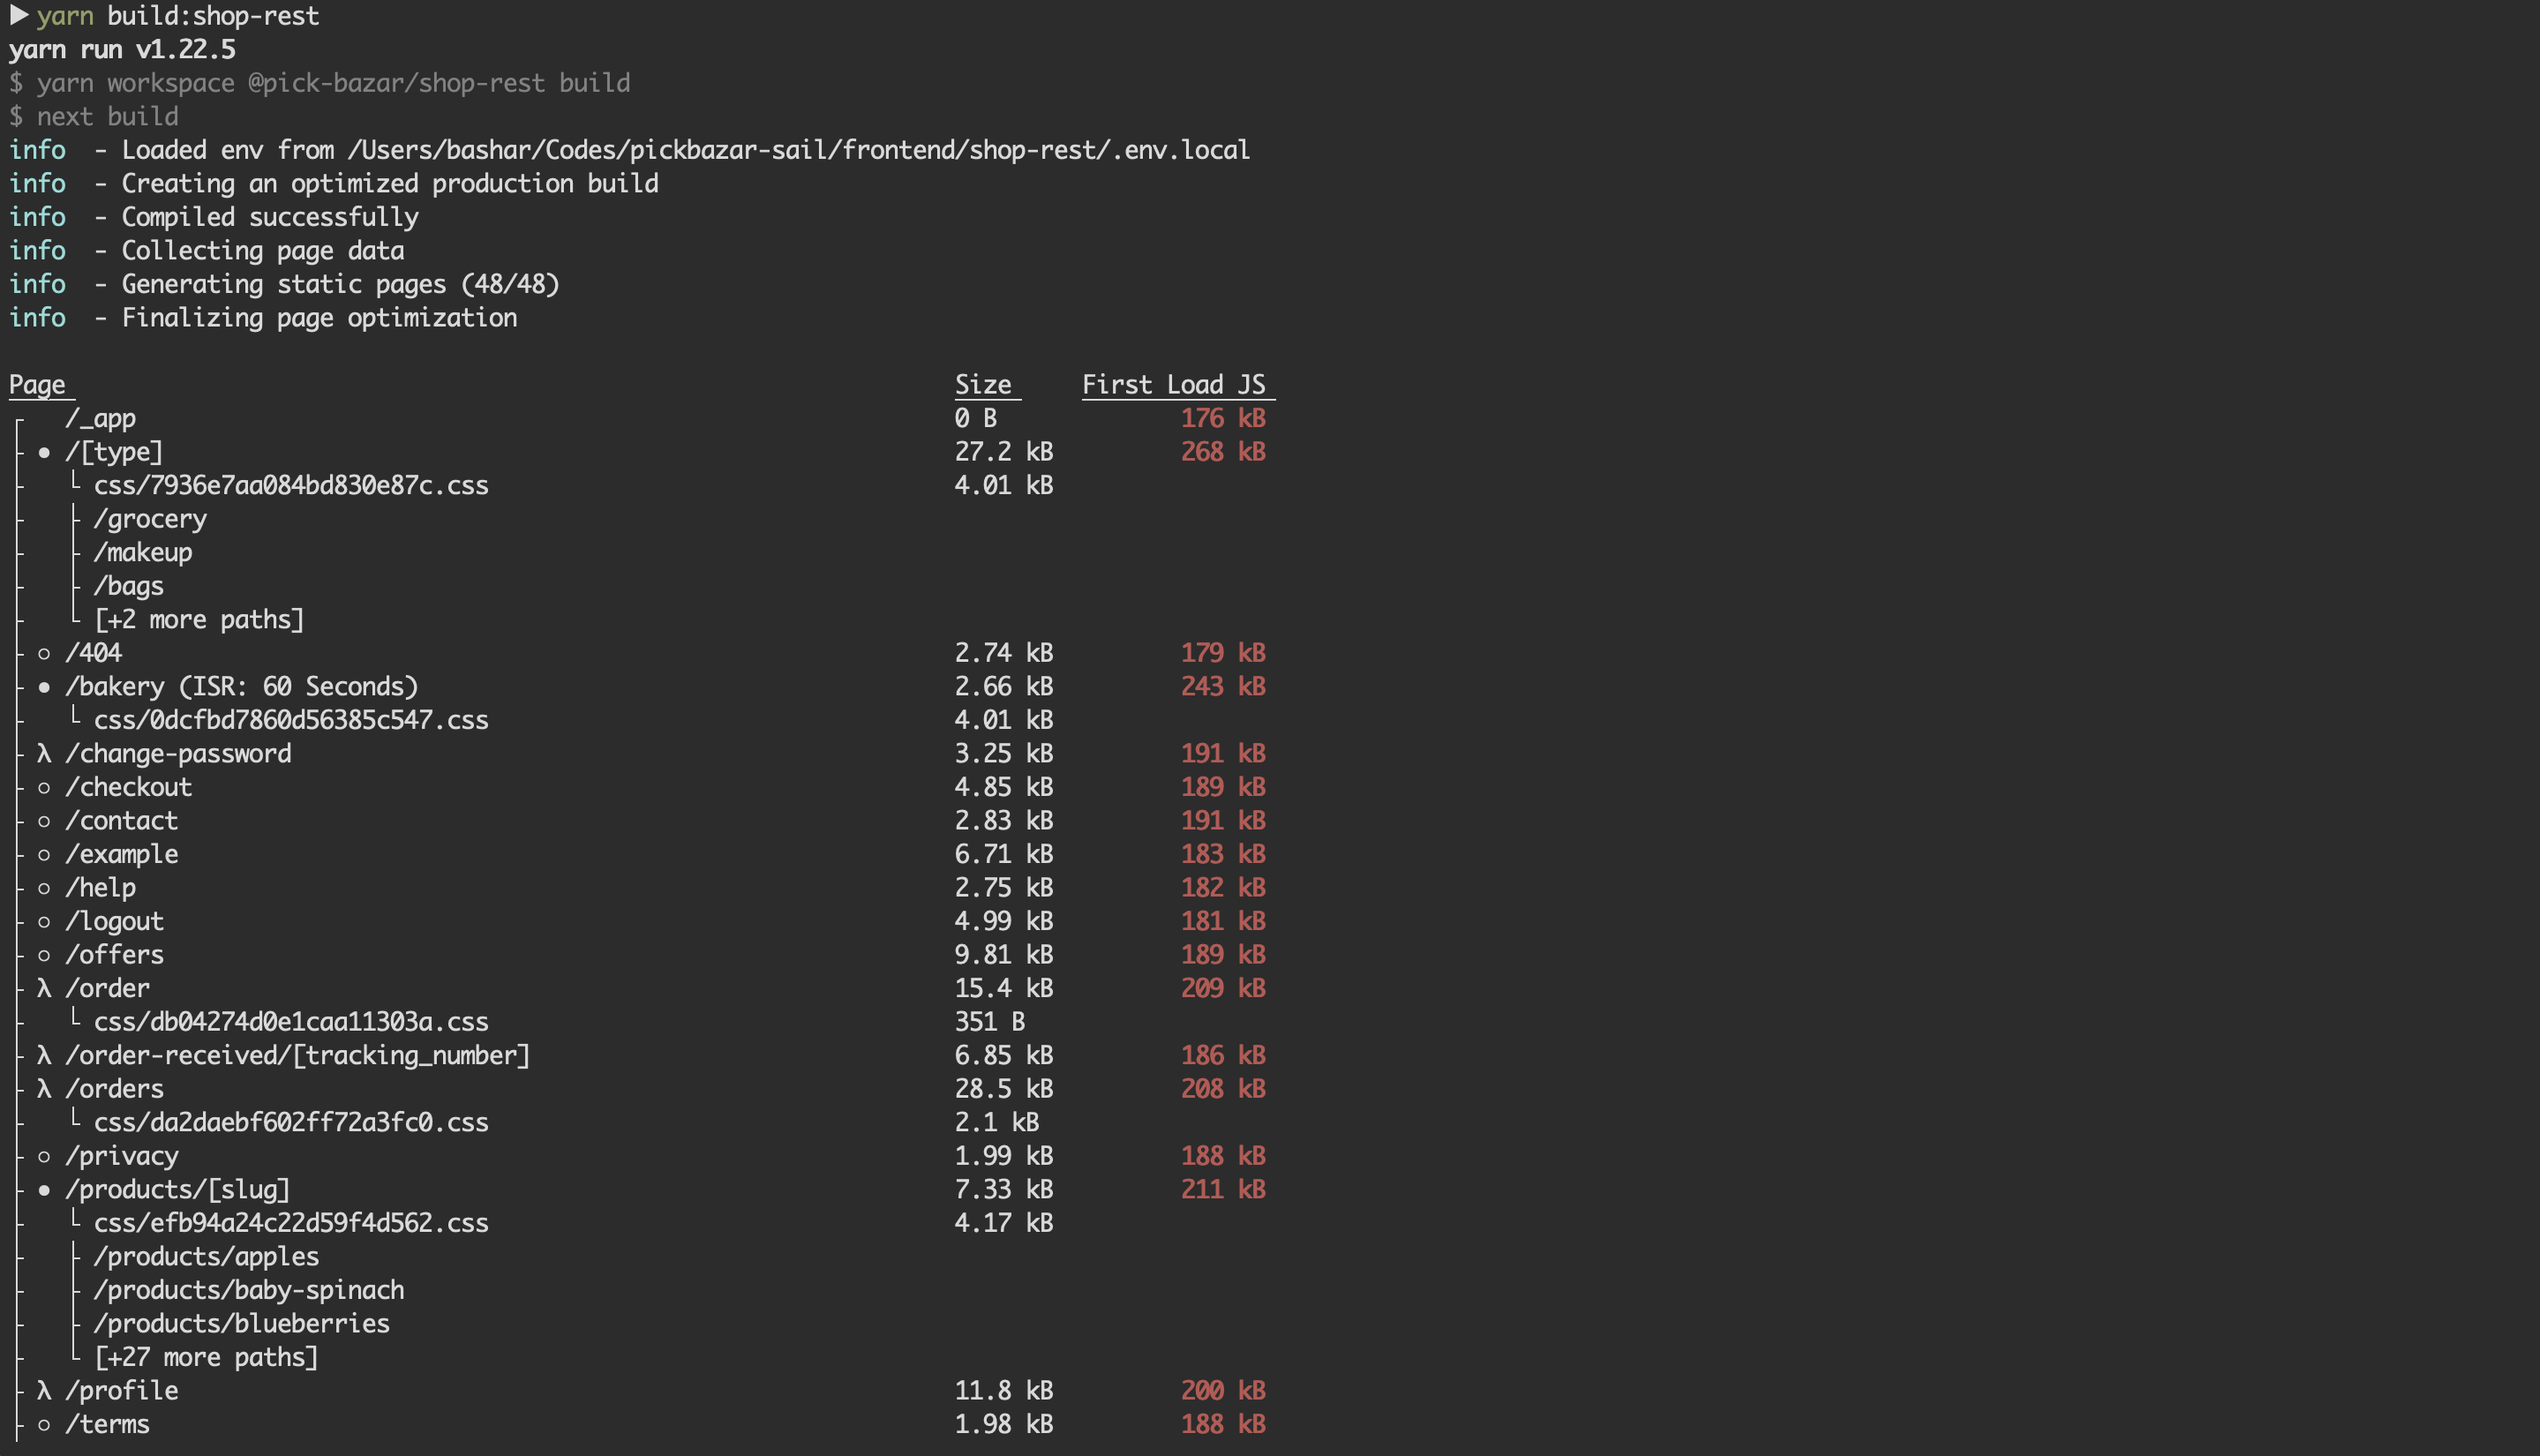
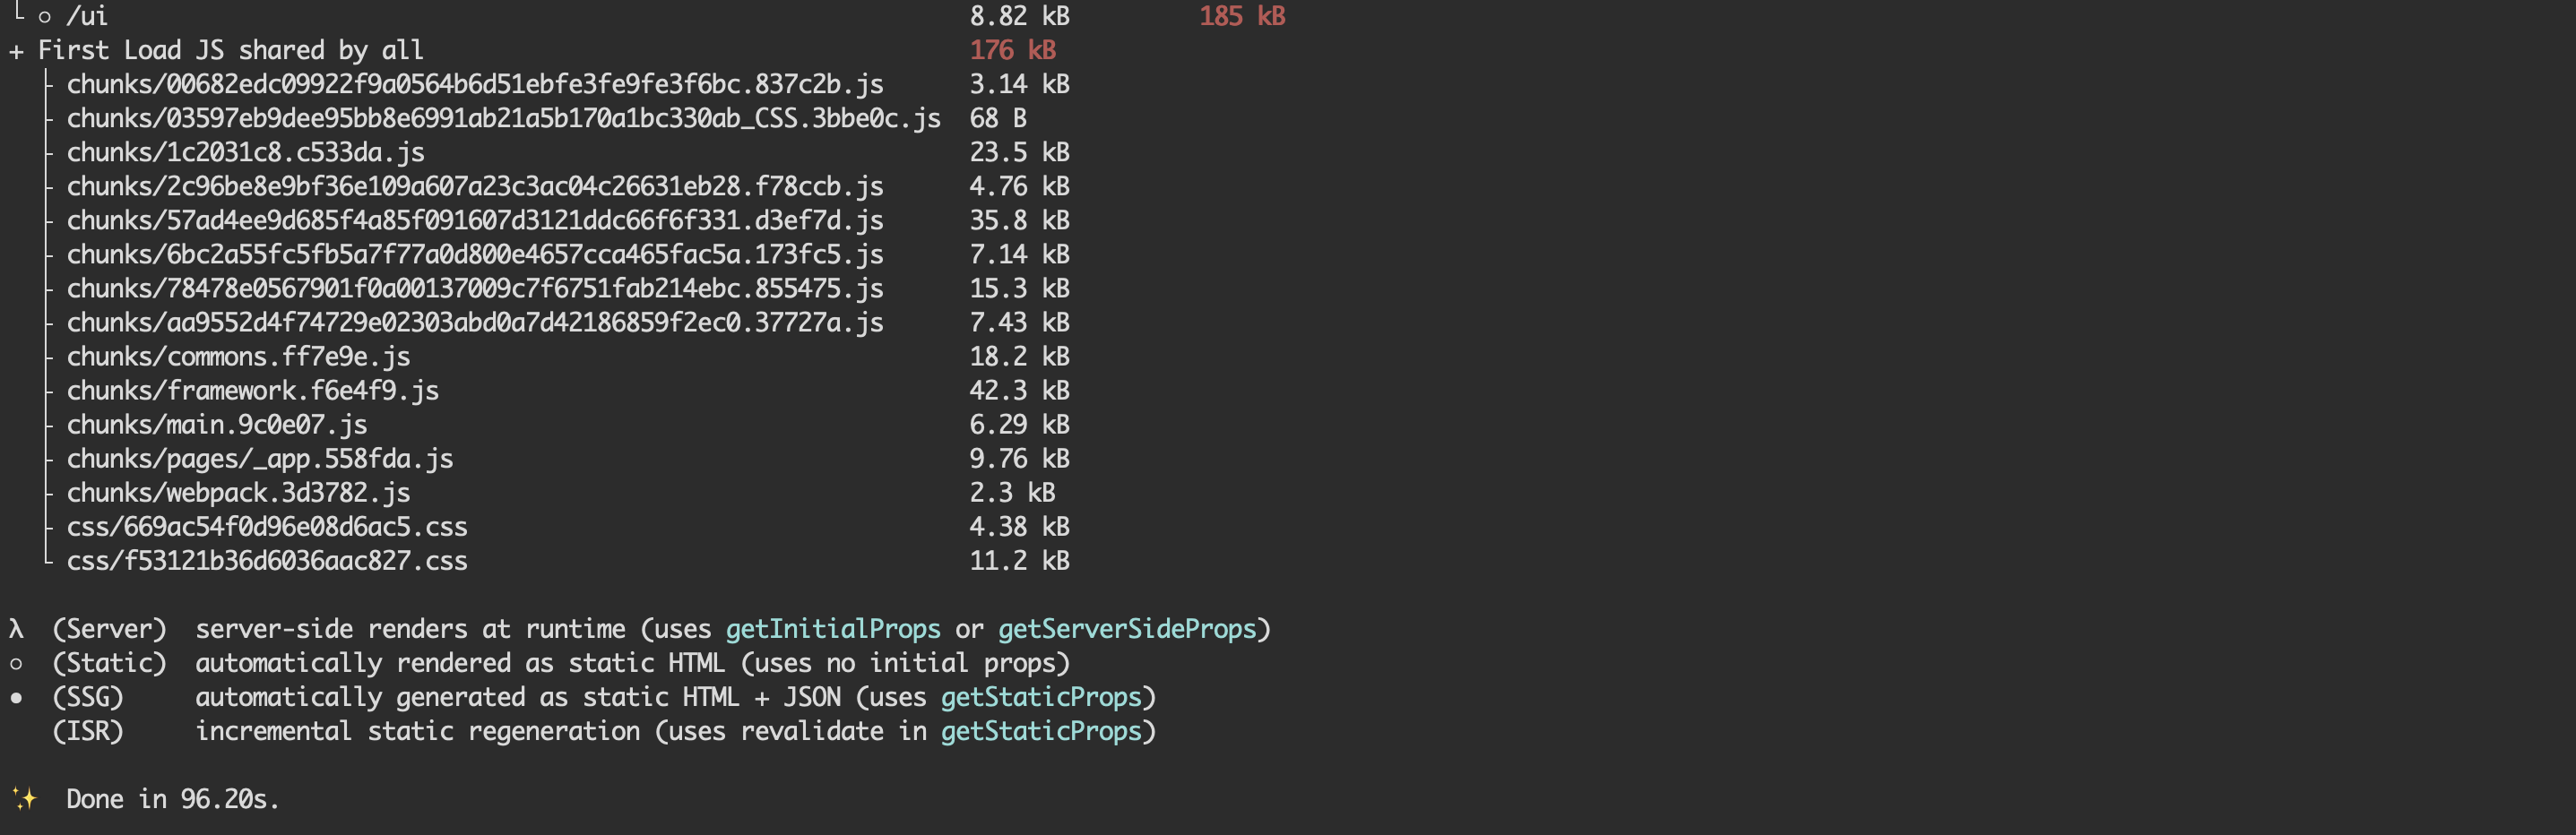
# build shop for productionyarn build:shop-rest# start shop in production modeyarn start:shop-rest

Note :
Please see package.json file for other builtin helper commands.
- For development purpose we use yarn workspace if you want to use it then see the
package.jsonfile at root, for various workspace specific command.
- if you prefer single template then just copy the required template folder and separate them. you'll find their
package.jsonfile within them and follow the command for dev, build, start.
- For further development & customization check our Frontend Customization guide.